
Blazor Introduction
In this tutorial, we are going to discuss
- The current trend today to develop web applications.
- What is Blazor and the usage.
- The tools required to setup our workstation to develop blazor applications.
- Create a simple Blazor application
The current trend to develop web applications
In the current market, developers need to know server-side programming languages as well as client-side frameworks for developing the web applications.
A few programming languages like C#, PHP, Java, VB etc. have been using for server-side development. For client-side development, we have been using JavaScript frameworks like Angular, ReactJS, VueJS etc.
To remain competitive in the market, as a developer, we need to learn both server-side languages as well as client-side frameworks.
But we may need to think, why do we need to learn different set of programming languages and frameworks. Would that be possible to use C# both for server-side as well as client-side development? The answer should be “Yes”, and that is exactly why we have Blazor.
What is blazor?
Blazor is a free, open-source web framework that allow us to create web applications. With the introduction of Blazor, we can now develop interactive UI using C# instead of JavaScript. Now, C# can be executed both on server as well as in browser. However, developers will have a question, how browse will understand programing language like C#. The answer is WebAssembly. Blazor can run the C# directly on browser, using WebAssembly. Since blazor is based on open web standards, it is native for all modern browsers including mobile browsers. There is no need to install additional plug-ins like we were doing for Silverlight and Flash based applications
Blazor hosting Models
Blazor provides two hosting models
- Blazor WebAssembly – This is also known as client-side hosting model. In this model, application runs directly on the browser. To create blazor application, we need to use Blazor WebAssembly template.
Advantages:
- Active Server connection not required.
- Client-side resources are used.
- Fully developed .NET Core web server not required.
- This can be hosted on our own server, azure or CDN.
Disadvantages:
- The very first request takes longer time to respond.
- Efficient client hardware and software is required.
- Blazor Server – This is also known as server-side hosting model. In this model, application is executed on the server. SignalR connection will be used to communicate between client and server.To create blazor application, we need to use Blazor server app template.
Advantages:
- The application load much faster.
- Take full advantages of server capabilities.
- More secure as the app code is not sent to client.
Disadvantages:
- .NET Core Server is required
- An active connection to server is required.
- High latency due to a roundtrip to the server.
- Scalability cab be a challenge. – this issue can be overcome by using Azure SignalR service.
Workstation Setup
To configure the workstation, please follow the below steps
- Install .NET Core 3.1 or later. Download the same from the link
- Visual Studio 2019/2022, Visual Studio Code, or .NET CLI
Simple Blazor application
I’m using VS 2019 to demonstrate a simple blazor application. I have used Blazor Server App Template here.
Please follow the steps
- Create a new project
- Select Blazor App
- Configure your new project(enter project name, select the location, provide solution name and then click on “Create”
- Choose Blazor Server App
- Click on “Create”
- New project has been created.
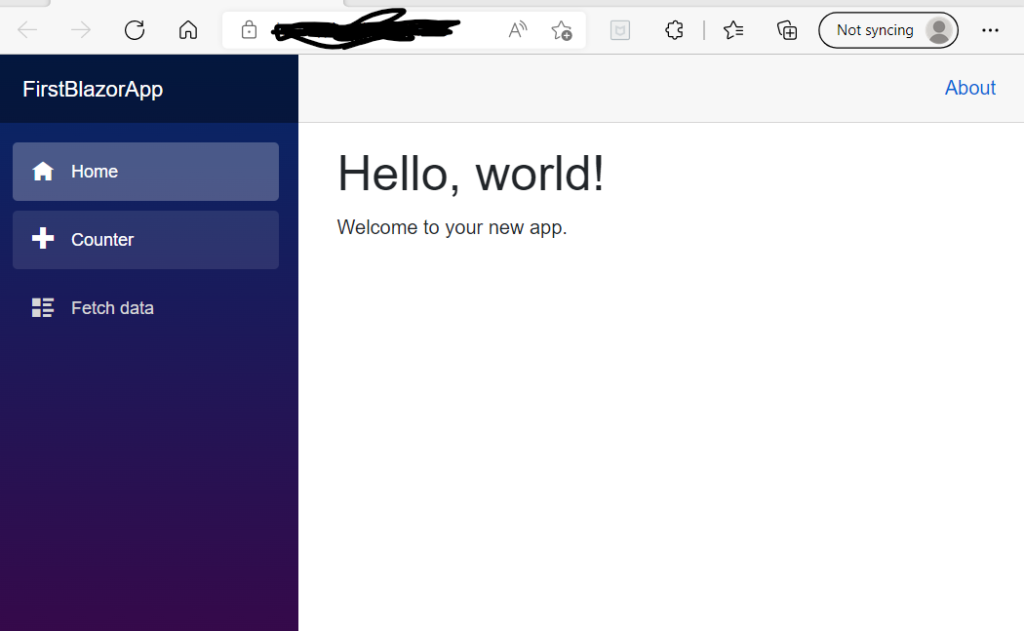
Now run the application, you will get the below screen
In the upcoming articles, I will be explaining the Project structure and Blazor components

2 thoughts on “Blazor Introduction”